Aquaknarre + Hydropumpe
Das beste Wasser-Moveset für Seemon ist Aquaknarre / Hydropumpe mit 9.06 DPS und 116.0 TDO. Diese Attacken werden durch Regen-Wetter verstärkt. Seemon belegt mit diesem Moveset Platz #123 (F Tier) der Wasser-Angreifer.
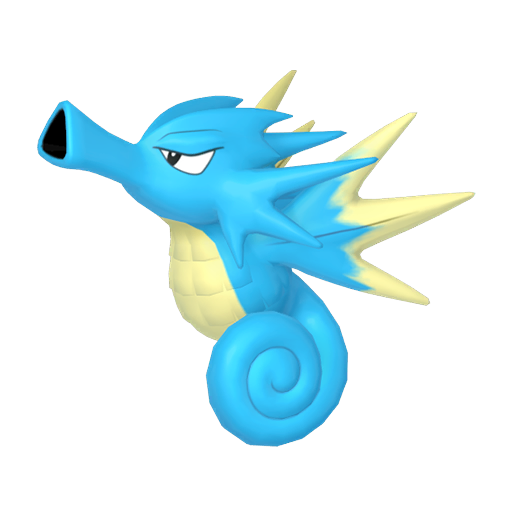
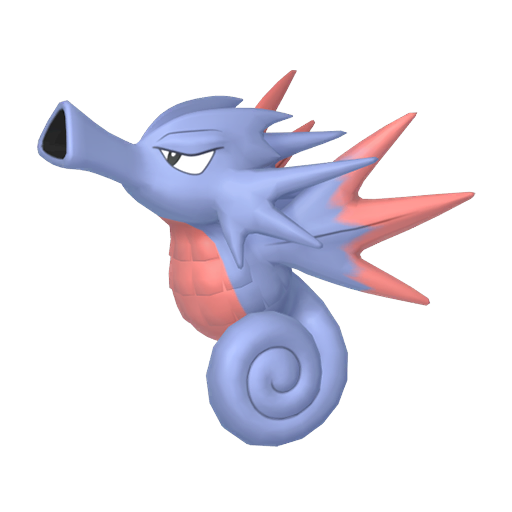
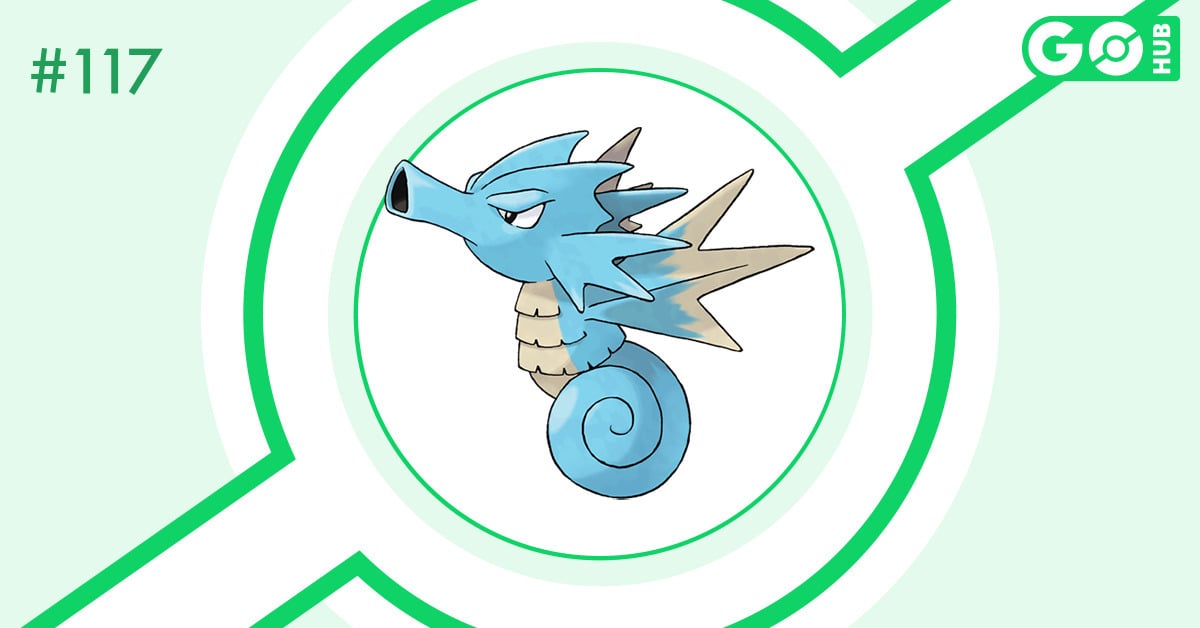
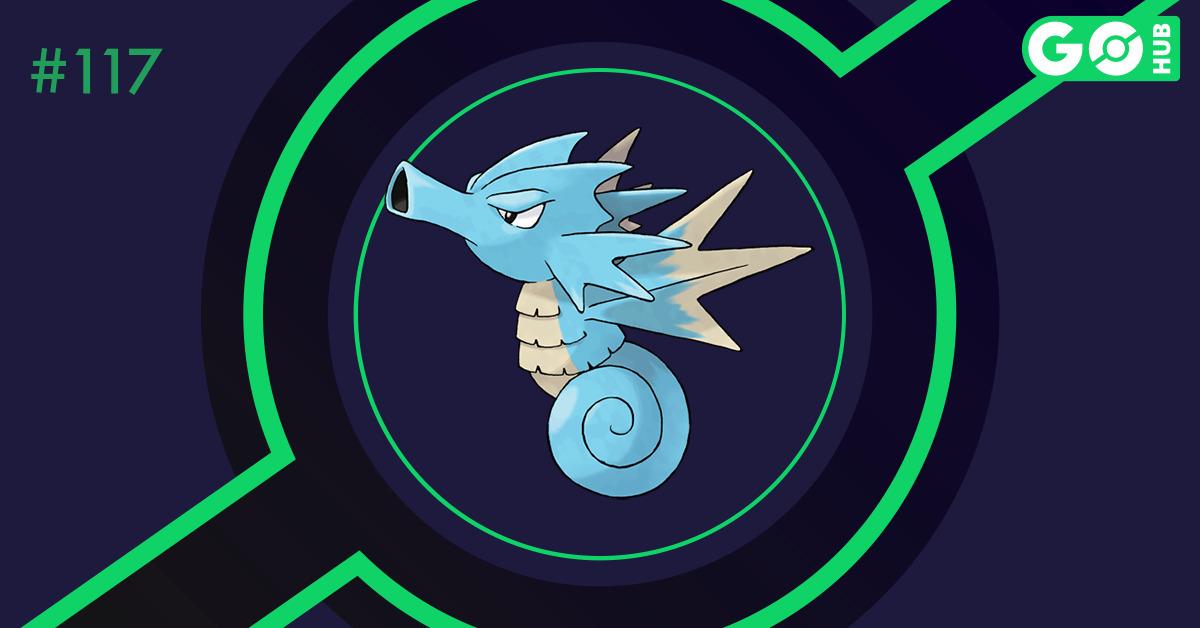
Seemon ist ein Pokémon vom Typ Wasser in Pokémon GO. Als ein Pokémon vom Typ Wasser ist Seemon anfällig gegenüber Elektro und Pflanze-Typ-Attacken.
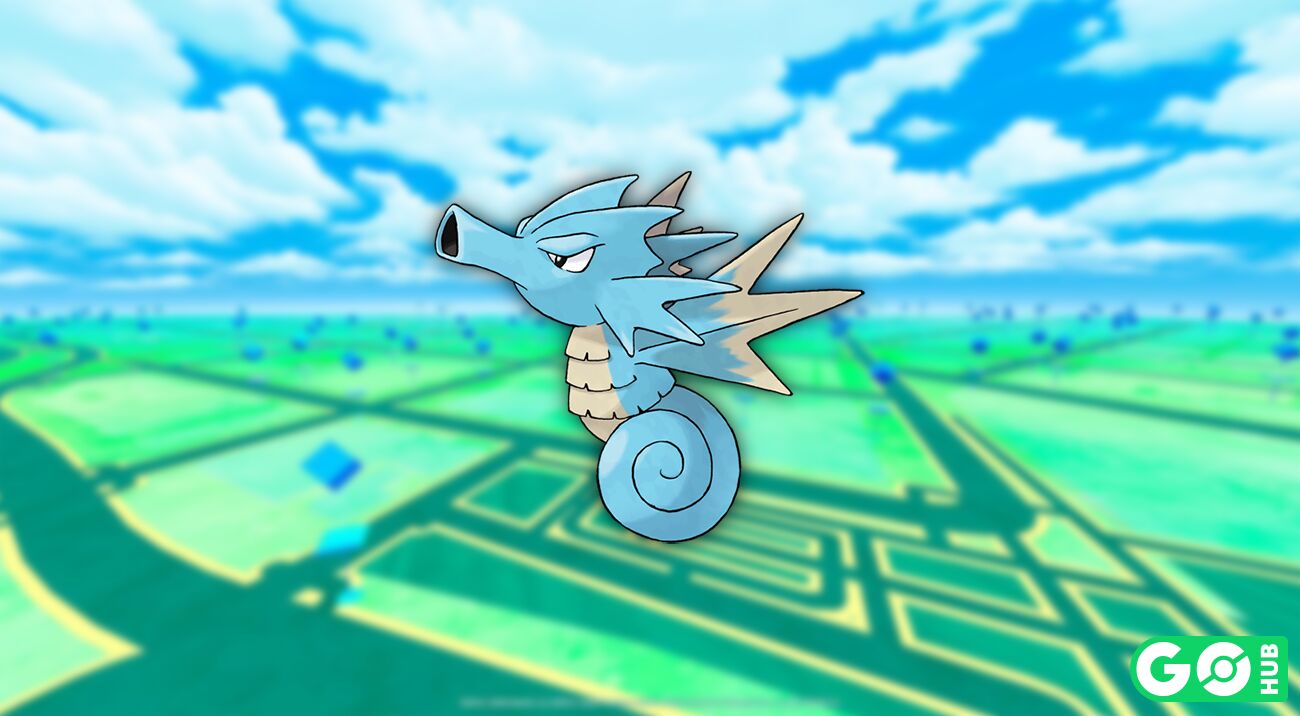
Die maximale Wettkampfpunkte von Seemon beträgt 2366 WP, und das empfohlene Pokémon GO-Moveset ist Aquaknarre / Hydropumpe. Begegnungen mit Seemon werden bei Regen-Wetter verstärkt. Shiny Seemon ist verfügbar! ✨
# | Fast Attack | Charged Attack | DPS | TDO | Score 🔽 |
|---|---|---|---|---|---|
| 1. | 9.06 | 116.0 | 7.58 | ||
| 2. | 8.54 | 109.3 | 7.14 | ||
| 3. | 8.46 | 108.3 | 7.08 | ||
| 4. | 8.35 | 107.0 | 6.99 | ||
| 5. | 8.07 | 103.4 | 6.76 | ||
| 6. | 8.04 | 103.0 | 6.73 | ||
| 7. | 7.86 | 100.7 | 6.58 | ||
| 8. | 7.65 | 98.0 | 6.40 |
| Schaden | 6 |
|---|---|
| Energie | 4 |
| Wetterbonus |
|
| Dauer | 0.5s |
| Schadensfenster | 0.3s - 0.5s |
| Schaden | 3 |
|---|---|
| Energie | 4 |
| Schaden | 5 |
|---|---|
| Energie | 5 |
| Wetterbonus |
|
| Dauer | 0.5s |
| Schadensfenster | 0.3s - 0.5s |
| Schaden | 3 |
|---|---|
| Energie | 3 |
| Schaden | 90 |
|---|---|
| Energie | 50 |
| Wetterbonus |
|
| Dauer | 3.5s |
| Schadensfenster | 2.0s - 3.2s |
| Schaden | 90 |
|---|---|
| Energie | 55 |
| Schaden | 80 |
|---|---|
| Energie | 50 |
| Wetterbonus |
|
| Dauer | 3.5s |
| Schadensfenster | 3.3s - 3.5s |
| Schaden | 80 |
|---|---|
| Energie | 60 |
| Schaden | 130 |
|---|---|
| Energie | 100 |
| Wetterbonus |
|
| Dauer | 3.0s |
| Schadensfenster | 1.4s - 2.8s |
| Schaden | 140 |
|---|---|
| Energie | 75 |
| Schaden | 135 |
|---|---|
| Energie | 100 |
| Wetterbonus |
|
| Dauer | 3.5s |
| Schadensfenster | 1.1s - 3.2s |
| Schaden | 130 |
|---|---|
| Energie | 75 |
Die folgende Tabelle zeigt Seemons DPS und TDO für jede Kombination aus Schnell- und Lade-Moves. Diese Tabelle ist nützlich, um die relative Stärke von Seemons Movesets zu vergleichen. Du kannst das Wetter und das gegnerische Pokémon ändern, um zu sehen, wie es die Rankings beeinflusst.
Legacy Top-Schnell- und Lade-Attacken können nur während spezieller Events erhalten werden oder indem ein Top-Schnell-TM oder ein Top-Lade-TM verwendet wird. Legacy-Attacken sind mit einem Sternchen (*) markiert. Die obige Tabelle bietet Informationen zu verschiedenen Attacken von Seemon in Pokémon GO, zusammen mit ihren entsprechenden DPS (Schaden pro Sekunde) und TDO (Totaler Schadensausstoß).
Seadras Werteverteilung und maximales WP machen es nicht wirklich nützlich in Raid-Kämpfen. Sein optimales Wasser-basiertes Attackenset aus Aquaknarre und Hydropumpe ist viel zu langsam, um aufgeladene Attacken aufzubauen und einen Einfluss auf die Lebenspunkte des Raid-Bosses zu haben. Obwohl es Zugriff auf ein vollständiges Drachen-Attackenset hat, gibt es bessere Alternativen. Alle voll entwickelten Wasser-Starter-Pokémon übertreffen Seadra und sind viel leichter durch Spawns, Forschungen und Eier verfügbar.
Diese mittlere Entwicklung bietet nichts Bemerkenswertes, das ihr eine höhere Überlebensfähigkeit bei der Verteidigung von Arenen geben würde. Obwohl Wasser normalerweise ein guter Typ ist, um Abdeckung hinzuzufügen und Schwächen von Arena-Verteidigern zu entfernen, sollte man etwas mit mehr Robustheit wie Lapras, Walraisa oder Turtok verwenden.
🧸 Mini-Edition
Seemon ist in allen Varianten der Mini-Edition extrem schlecht platziert und wird von seiner Entwicklung und anderen Wasser-Pokémon mit mehr Robustheit oder einer breiteren Auswahl an Attacken übertroffen. Das derzeit beste Attackenset für Seemon besteht aus Feuerodem, Hydropumpe und Blizzard, wobei ein Elite-TM erforderlich ist. Selbst mit diesem Set hat Seemon keine Chance gegen die Meta-Anführer wie Marill, Bronzel oder Panjirsch.
🔵 Superliga
Wie bereits für die Mini-Edition erwähnt, rangiert Seemon in der Superliga noch schlechter, da es eine größere Auswahl an Pokémon gibt. Die Verwendung eines Seemon wird höchstwahrscheinlich nicht zu deinem Vorteil sein, daher empfehlen wir, ein anderes Pokémon zu wählen.
🟡 Hyperliga
Seemon erreicht maximal 2366 WP, was knapp unter dem Limit der Hyperliga liegt.
🟣 Meisterliga
Wenn du Seemon für die Meisterliga in Betracht ziehst, schwimme lieber direkt weiter zu einer besseren Wahl.

| Pokédex-Nr. | #117 |
|---|---|
| Höhe | 1.2 m |
| Gewicht | 25 kg |
| Region | Generation 1 |
| Kann gehandelt werden | Erlaubt |
| Kumpel-Distanz | 3 km |
| Veröffentlicht | Ja |
| Schillernd veröffentlicht | Ja |
| Pokémon Home Transfer | Erlaubt |
| Basisfangrate | 20% |
| Basisfluchtrate | 0% |
| Fangbelohnungen | |
| Zusätzliche Attackeskosten |
Eine Liste von Pokémon, die in irgendeiner Weise mit Seemon in Pokémon GO verwandt sind. Beinhaltet Entwicklungen, regionale und Form-Variationen.
| XXS | XS | M | XL | XXL |
|---|---|---|---|---|
| 0.59 m | 0.6 m | 1.2 m | 1.8 m | 2.4 m |
Die Größe von Seemon reicht von 0.59 m bis 2.4 m, mit einem Durchschnitt von 1.2 m. Die Illustration zeigt einen Vergleich mit einem 1,70 m (5′07″) großen Trainer. Die maximale Höhe wurde aus Darstellungsgründen auf 450px begrenzt.
Diese Tabelle zeigt die Größengrenzen von Seemon in Pokémon GO. Die Grenzwerte entsprechen dem minimalen und maximalen Wert jeder Größenkategorie.
| Größe | Untere Grenze | Obere Grenze |
|---|---|---|
| XXS | 0.588 m | 0.6 m |
| 1′11″ | 1′12″ | |
| XS | 0.6 m | 1.2 m |
| 1′12″ | 3′11″ | |
| M | 0.9 m | 1.5 m |
| 2′11″ | 4′11″ | |
| XL | 1.5 m | 1.8 m |
| 4′11″ | 5′11″ | |
| XXL | 1.8 m | 2.4 m |
| 5′11″ | 7′10″ |
| Bewegungstyp | MOVEMENT_HOVERING |
|---|---|
| Bewegungstimer | 6s |
| Sprungzeit | 1s |
| Angriffswahrscheinlichkeit | 10.0% |
| Angriffstimer | 17s |
| Ausweichwahrscheinlichkeit | 15.0% |
| Ausweichdauer | 0.0s |
| Ausweichdistanz | 0.6 |
| Minimale Aktionsfrequenz | 1s |
| Maximale Aktionsfrequenz | 2s |
Seemon hat ein maximales Wettkampfpunkte (WP) von 2366 (auf Level 50). Ein aus Raids erhaltenes Seemon kann mit einem WP von 1131 bis 1196 angetroffen werden, oder bei Wetterverstärkung im Bereich von 1414 WP bis 1495 WP. In Feld- und Spezialforschungen kann Seemon im Bereich von 848 WP bis 897 WP gefunden werden.
| 2366 WP | |
| Level 50, 15/15/15 IVs | |
| 848 WP - 897 WP | |
| Level 15, mindestens 10/10/10 IVs | |
| 1131 WP - 1196 WP | |
| Level 20, mindestens 10/10/10 IVs | |
| 1131 WP - 1196 WP | |
| Level 20, mindestens 10/10/10 IVs | |
| 1414 WP - 1495 WP | |
| Mit Wetterbonus, Level 25, mindestens 10/10/10 IVs |
Seemon Max WP pro Level-Diagramm. Diese Tabelle zeigt maximale Wettkampfpunkte von Level 1 bis Level 50.
| LVL | Max WP | LVL | Max WP | LVL | Max WP |
|---|---|---|---|---|---|
| 1 | 29 WP | 2 | 92 WP | 3 | 155 WP |
| 4 | 219 WP | 5 | 282 WP | 6 | 345 WP |
| 7 | 408 WP | 8 | 471 WP | 9 | 535 WP |
| 10 | 598 WP | 11 | 658 WP | 12 | 717 WP |
| 13 | 777 WP | 14 | 837 WP | 15 | 897 WP |
| 16 | 957 WP | 17 | 1016 WP | 18 | 1076 WP |
| 19 | 1136 WP | 20 | 1196 WP | 21 | 1255 WP |
| 22 | 1315 WP | 23 | 1375 WP | 24 | 1435 WP |
| 25 | 1495 WP | 26 | 1555 WP | 27 | 1614 WP |
| 28 | 1674 WP | 29 | 1734 WP | 30 | 1794 WP |
| 31 | 1824 WP | 32 | 1854 WP | 33 | 1884 WP |
| 34 | 1914 WP | 35 | 1943 WP | 36 | 1973 WP |
| 37 | 2003 WP | 38 | 2033 WP | 39 | 2063 WP |
| 40 | 2093 WP | 41 | 2119 WP | 42 | 2146 WP |
| 43 | 2173 WP | 44 | 2200 WP | 45 | 2227 WP |
| 46 | 2255 WP | 47 | 2282 WP | 48 | 2310 WP |
| 49 | 2338 WP | 50 | 2366 WP |
Eine Liste von Mega-Pokémon, die Seemons Wasser-Typ-Attacken, Bonbons und XL-Bonbons beim Fangen von Seemon verstärken.
Mega- und Primal-Raid-Bonus –Mega-Pokémon erhöhen die Angriffskraft aller anderen Pokémon in Raid-Kämpfen um 10%. Attacke, die den Typen des Mega-Pokémons entsprechen, erhalten einen 30% Bonus. Diese Boni addieren sich jedoch nicht, wenn mehrere Mega-entwickelte Pokémon gleichzeitig kämpfen; nur der höhere Bonus wird angewendet.
Mega- und Primal-Fangbonus –Während ein Pokémon Mega-entwickelt ist, werden zusätzliche EP und Bonbons gewährt, wenn ein Pokémon gefangen wird, das denselben Typ wie das Mega-Pokémon hat, oder für jeden gefangenen Raid-Boss. Diese stapeln sich nicht miteinander. Außerdem gewähren hoch- und maximal-levelige Mega-entwickelte Pokémon eine erhöhte Chance, XL-Bonbons zu erhalten, wenn ein Pokémon gefangen wird, das denselben Typ wie das Mega-Pokémon hat.
Hinweis zu Primal Kyogre, Primal Groudon und Mega Rayquaza| Sternenstaub | Bonbons | XL-Bonbons | |
|---|---|---|---|
| LVL 50 | 520,000 | 304 | 296 |
| LVL 40 | 280,000 | 304 | 10 |
| LVL 35 | 190,000 | 196 | - |
| LVL 30 | 125,000 | 126 | - |
| LVL 25 | 80,000 | 87 | - |
| LVL 20 | 47,500 | 58 | - |
| LVL 15 | 25,500 | 38 | - |
| LVL 10 | 11,000 | 19 | - |
| LVL 5 | 3,000 | 9 | - |
Power-Up-Kosten für Seemon in Pokémon GO. Die Tabelle zeigt den gesamten Sternenstaub, die Bonbons und die XL-Bonbons, die benötigt werden, um Seemon von Level 1 auf Level 15, 20, 25, 30, 35, 40 und 50 zu bringen. Es kostet dich 520,000 Sternenstaub, 304 Bonbons und 296 XL-Bonbons, um Seemon in Pokémon GO vollständig aufzuladen.
| LVL | Power-Ups | Sternenstaub | Bonbons | XL-Bonbons | Gesamter Sternenstaub | Gesamte Bonbons | Gesamte XL-Bonbons |
|---|---|---|---|---|---|---|---|
| 1 | 1 | 200 | 1 | - | 200 | 1 | - |
| 1.5 | 2 | 200 | 1 | - | 400 | 2 | - |
| 2 | 3 | 200 | 1 | - | 600 | 3 | - |
| 2.5 | 4 | 200 | 1 | - | 800 | 4 | - |
| 3 | 5 | 400 | 1 | - | 1,200 | 5 | - |
| 3.5 | 6 | 400 | 1 | - | 1,600 | 6 | - |
| 4 | 7 | 400 | 1 | - | 2,000 | 7 | - |
| 4.5 | 8 | 400 | 1 | - | 2,400 | 8 | - |
| 5 | 9 | 600 | 1 | - | 3,000 | 9 | - |
| 5.5 | 10 | 600 | 1 | - | 3,600 | 10 | - |
| 6 | 11 | 600 | 1 | - | 4,200 | 11 | - |
| 6.5 | 12 | 600 | 1 | - | 4,800 | 12 | - |
| 7 | 13 | 800 | 1 | - | 5,600 | 13 | - |
| 7.5 | 14 | 800 | 1 | - | 6,400 | 14 | - |
| 8 | 15 | 800 | 1 | - | 7,200 | 15 | - |
| 8.5 | 16 | 800 | 1 | - | 8,000 | 16 | - |
| 9 | 17 | 1,000 | 1 | - | 9,000 | 17 | - |
| 9.5 | 18 | 1,000 | 1 | - | 10,000 | 18 | - |
| 10 | 19 | 1,000 | 1 | - | 11,000 | 19 | - |
| 10.5 | 20 | 1,000 | 1 | - | 12,000 | 20 | - |
| 11 | 21 | 1,300 | 2 | - | 13,300 | 22 | - |
| 11.5 | 22 | 1,300 | 2 | - | 14,600 | 24 | - |
| 12 | 23 | 1,300 | 2 | - | 15,900 | 26 | - |
| 12.5 | 24 | 1,300 | 2 | - | 17,200 | 28 | - |
| 13 | 25 | 1,600 | 2 | - | 18,800 | 30 | - |
| 13.5 | 26 | 1,600 | 2 | - | 20,400 | 32 | - |
| 14 | 27 | 1,600 | 2 | - | 22,000 | 34 | - |
| 14.5 | 28 | 1,600 | 2 | - | 23,600 | 36 | - |
| 15 | 29 | 1,900 | 2 | - | 25,500 | 38 | - |
| 15.5 | 30 | 1,900 | 2 | - | 27,400 | 40 | - |
| 16 | 31 | 1,900 | 2 | - | 29,300 | 42 | - |
| 16.5 | 32 | 1,900 | 2 | - | 31,200 | 44 | - |
| 17 | 33 | 2,200 | 2 | - | 33,400 | 46 | - |
| 17.5 | 34 | 2,200 | 2 | - | 35,600 | 48 | - |
| 18 | 35 | 2,200 | 2 | - | 37,800 | 50 | - |
| 18.5 | 36 | 2,200 | 2 | - | 40,000 | 52 | - |
| 19 | 37 | 2,500 | 2 | - | 42,500 | 54 | - |
| 19.5 | 38 | 2,500 | 2 | - | 45,000 | 56 | - |
| 20 | 39 | 2,500 | 2 | - | 47,500 | 58 | - |
| 20.5 | 40 | 2,500 | 2 | - | 50,000 | 60 | - |
| 21 | 41 | 3,000 | 3 | - | 53,000 | 63 | - |
| 21.5 | 42 | 3,000 | 3 | - | 56,000 | 66 | - |
| 22 | 43 | 3,000 | 3 | - | 59,000 | 69 | - |
| 22.5 | 44 | 3,000 | 3 | - | 62,000 | 72 | - |
| 23 | 45 | 3,500 | 3 | - | 65,500 | 75 | - |
| 23.5 | 46 | 3,500 | 3 | - | 69,000 | 78 | - |
| 24 | 47 | 3,500 | 3 | - | 72,500 | 81 | - |
| 24.5 | 48 | 3,500 | 3 | - | 76,000 | 84 | - |
| 25 | 49 | 4,000 | 3 | - | 80,000 | 87 | - |
| 25.5 | 50 | 4,000 | 3 | - | 84,000 | 90 | - |
| 26 | 51 | 4,000 | 4 | - | 88,000 | 94 | - |
| 26.5 | 52 | 4,000 | 4 | - | 92,000 | 98 | - |
| 27 | 53 | 4,500 | 4 | - | 96,500 | 102 | - |
| 27.5 | 54 | 4,500 | 4 | - | 101,000 | 106 | - |
| 28 | 55 | 4,500 | 4 | - | 105,500 | 110 | - |
| 28.5 | 56 | 4,500 | 4 | - | 110,000 | 114 | - |
| 29 | 57 | 5,000 | 4 | - | 115,000 | 118 | - |
| 29.5 | 58 | 5,000 | 4 | - | 120,000 | 122 | - |
| 30 | 59 | 5,000 | 4 | - | 125,000 | 126 | - |
| 30.5 | 60 | 5,000 | 4 | - | 130,000 | 130 | - |
| 31 | 61 | 6,000 | 6 | - | 136,000 | 136 | - |
| 31.5 | 62 | 6,000 | 6 | - | 142,000 | 142 | - |
| 32 | 63 | 6,000 | 6 | - | 148,000 | 148 | - |
| 32.5 | 64 | 6,000 | 6 | - | 154,000 | 154 | - |
| 33 | 65 | 7,000 | 8 | - | 161,000 | 162 | - |
| 33.5 | 66 | 7,000 | 8 | - | 168,000 | 170 | - |
| 34 | 67 | 7,000 | 8 | - | 175,000 | 178 | - |
| 34.5 | 68 | 7,000 | 8 | - | 182,000 | 186 | - |
| 35 | 69 | 8,000 | 10 | - | 190,000 | 196 | - |
| 35.5 | 70 | 8,000 | 10 | - | 198,000 | 206 | - |
| 36 | 71 | 8,000 | 10 | - | 206,000 | 216 | - |
| 36.5 | 72 | 8,000 | 10 | - | 214,000 | 226 | - |
| 37 | 73 | 9,000 | 12 | - | 223,000 | 238 | - |
| 37.5 | 74 | 9,000 | 12 | - | 232,000 | 250 | - |
| 38 | 75 | 9,000 | 12 | - | 241,000 | 262 | - |
| 38.5 | 76 | 9,000 | 12 | - | 250,000 | 274 | - |
| 39 | 77 | 10,000 | 15 | - | 260,000 | 289 | - |
| 39.5 | 78 | 10,000 | 15 | - | 270,000 | 304 | - |
| 40 | 79 | 10,000 | - | 10 | 280,000 | 304 | 10 |
| 40.5 | 80 | 10,000 | - | 10 | 290,000 | 304 | 20 |
| 41 | 81 | 11,000 | - | 10 | 301,000 | 304 | 30 |
| 41.5 | 82 | 11,000 | - | 10 | 312,000 | 304 | 40 |
| 42 | 83 | 11,000 | - | 12 | 323,000 | 304 | 52 |
| 42.5 | 84 | 11,000 | - | 12 | 334,000 | 304 | 64 |
| 43 | 85 | 12,000 | - | 12 | 346,000 | 304 | 76 |
| 43.5 | 86 | 12,000 | - | 12 | 358,000 | 304 | 88 |
| 44 | 87 | 12,000 | - | 15 | 370,000 | 304 | 103 |
| 44.5 | 88 | 12,000 | - | 15 | 382,000 | 304 | 118 |
| 45 | 89 | 13,000 | - | 15 | 395,000 | 304 | 133 |
| 45.5 | 90 | 13,000 | - | 15 | 408,000 | 304 | 148 |
| 46 | 91 | 13,000 | - | 17 | 421,000 | 304 | 165 |
| 46.5 | 92 | 13,000 | - | 17 | 434,000 | 304 | 182 |
| 47 | 93 | 14,000 | - | 17 | 448,000 | 304 | 199 |
| 47.5 | 94 | 14,000 | - | 17 | 462,000 | 304 | 216 |
| 48 | 95 | 14,000 | - | 20 | 476,000 | 304 | 236 |
| 48.5 | 96 | 14,000 | - | 20 | 490,000 | 304 | 256 |
| 49 | 97 | 15,000 | - | 20 | 505,000 | 304 | 276 |
| 49.5 | 98 | 15,000 | - | 20 | 520,000 | 304 | 296 |
Als ein Pokémon vom Typ Wasser ist Seemon anfällig gegenüber Elektro und Pflanze-Typ-Attacken.
Die besten Attacken für Seemon in Pokémon GO sind Aquaknarre und Hydropumpe. Diese Moveset hat einen DPS (Schaden pro Sekunde) von 9,056 und einen TDO (Gesamtschaden) von 115,988.
Seemon's Raid-Angreifer-Rang ist derzeit unbekannt, hat keine brauchbaren Moves oder ist zu schwach, um eingestuft zu werden.
Seemon ist ein F-Tier-Wasser-Typ-Angreifer und wird nicht für Raid-Kämpfe empfohlen.
Die folgenden Mega-Pokémon verstärken Seemon: Mega Turtok, Mega Lahmus, Mega Garados, Mega Sumpex, Mega Tohaido und Proto-Kyogre.
Seemon’s maximales WP auf Level 40 beträgt 2093 WP und 2366 WP auf Level 50.
Seemon kann als Schillernd in Pokémon GO erscheinen ✨.
Seemon kann in Pokémon GO nicht dynamaximieren.
| Pokémon | Erfordert | Entwicklung |
|---|---|---|
 Seeper Seeper |
|  Seemon Seemon |
| Seemon |
|  Seedraking Seedraking |
The base catch rate for Seemon in Pokémon GO is 16.74%, calculated for catching a Level 20 with no berries. Curved Great throw has a 37.32% chance to catch, and adding a Razz Berry raises that to 50.38%.
| Normal | Nice | Great | Excellent | ||
|---|---|---|---|---|---|
No Berry | - | 16.74% | 19.00% | 24.03% | 28.75% |
| Curve | 26.76% | 30.10% | 37.32% | 43.79% | |
| - | 24.03% | 27.09% | 33.78% | 39.85% | |
| Curve | 37.32% | 41.56% | 50.38% | 57.86% | |
| - | 28.09% | 31.56% | 39.02% | 45.67% | |
| Curve | 42.91% | 47.52% | 56.87% | 64.55% | |
| - | 36.74% | 40.94% | 49.69% | 57.14% | |
| Curve | 54.09% | 59.15% | 68.90% | 76.32% |
In order to help Trainers understand their overall odds when catching Seemon, we enable the functionality to showing the total chance to catch it depending on the number of available throws. We calculate this chance as if you repeated the same throw N-number of times.
To activate this functionality, change the number of Number of throws to a value greater than 1. The Number of throws option is available in the configuration options above the chart
Pokémon GO catch rate formula can be expressed as follows:
CATCH_MULTIPLIERS = ball * curve * berry * throwType * (type1Medal + type2Medal / 2)CATCH_RATE = 1 - Math.pow(1 - baseCatchRate / (2 * cpm), CATCH_MULTIPLIERS)There are different multipliers that come into play when calculating catch rate.
Curved throws are more effective than regular throws, stronger types of Poké Ball have a higher catch rate, and using a Razz Berry or a Golden Razz Berry also improves your chances.
The following table shows all the different catch rate multipliers in Pokémon GO:
| Multiplier | Amount |
|---|---|
| Razz Berry | 1.5 |
| Silver Pinap Berry | 1.8 |
| Golden Razz Berry | 2.5 |
| Curveball | 1.7 |
| Nice Throw | 1.15 |
| Great Throw | 1.5 |
| Excellent Throw | 1.85 |
| PokéBall | 1.0 |
| Premier Ball | 1.0 |
| Great Ball | 1.5 |
| Ultra Ball | 2.0 |
| Bronze medal | 1.1 |
| Silver medal | 1.2 |
| Gold medal | 1.3 |
Eine Liste von hochauflösenden Pokémon HOME Sprites, die mit Seemon in Verbindung stehen. Die Sprite-Beschreibung ist eine Vermutung darüber, was das Sprite darstellt, urteile selbst. Klicke, um die volle 512x512 Auflösung herunterzuladen.
| Versionen | Pokédex-Eintrag |
|---|---|
| Red, Blue | Capable of swim ming backwards by rapidly flapping its wing-like pectoral fins and stout tail. |
| Yellow | Touching the back fin causes numb ness. It hooks its tail to coral to stay in place while sleeping. |
| Gold | An examination of its cells revealed the presence of a gene not found in HORSEA. It became a hot topic. |
| Silver | Its fin-tips leak poison. Its fins and bones are highly valued as ingredients in herbal medicine. |
| Crystal | The male raises the young. If it is approached, it uses its toxic spikes to fend off the intruder. |
| Ruby | SEADRA sleeps after wriggling itself between the branches of coral. Those trying to harvest coral are occasionally stung by this POKéMON’s poison barbs if they fail to notice it. |
| Sapphire | SEADRA generates whirlpools by spinning its body. The whirlpools are strong enough to swallow even fishing boats. This POKéMON weakens prey with these currents, then swallows it whole. |
| Emerald | The poisonous barbs all over its body are highly valued as ingredients for making traditional herbal medicine. It shows no mercy to anything approaching its nest. |
| FireRed | Its body bristles with sharp spikes. Carelessly trying to touch it could cause fainting from the spikes. |
| LeafGreen | It is capable of swimming backwards by rapidly flapping its winglike pectoral fins and stout tail. |
| Diamond, Pearl, Platinum, Black, White | Its spines provide protection. Its fins and bones are prized as traditional medicine ingredients. |
| HeartGold | An examination of its cells revealed the presence of a gene not found in HORSEA. It became a hot topic. |
| SoulSilver | Its fin-tips leak poison. Its fins and bones are highly valued as ingredients in herbal medicine. |
| Black 2, White 2 | Its spines provide protection. Its fins and bones are prized as traditional-medicine ingredients. |
| X | Its body bristles with sharp spikes. Carelessly trying to touch it could cause fainting from the spikes. |
| Y | It is capable of swimming backwards by rapidly flapping its winglike pectoral fins and stout tail. |
| Omega Ruby | Seadra sleeps after wriggling itself between the branches of coral. Those trying to harvest coral are occasionally stung by this Pokémon’s poison barbs if they fail to notice it. |
| Alpha Sapphire | Seadra generates whirlpools by spinning its body. The whirlpools are strong enough to swallow even fishing boats. This Pokémon weakens prey with these currents, then swallows it whole. |
| Let's Go, Pikachu!, Let's Go, Eevee! | Touching the back fin causes numbness. It hooks its tail to coral to stay in place while sleeping. |
| Sword | It’s the males that raise the offspring. While Seadra are raising young, the spines on their backs secrete thicker and stronger poison. |
| Shield | Seadra’s mouth is slender, but its suction power is strong. In an instant, Seadra can suck in food that’s larger than the opening of its mouth. |